If you use Windows 10 Pro or Enterprise, you can create Virtual Machines (VM) that will run on your desktop. These can run test or evaluation environments for a variety of operating systems, including Windows and Linux. These VMs run in Hyper-V which you can activate by opening Control Panel and then Programs and Features before clicking the Turn Windows features on or off link in the right panel. Find Hyper-V in the list of features, check it, and click OK. You will be prompted to restart the PC.

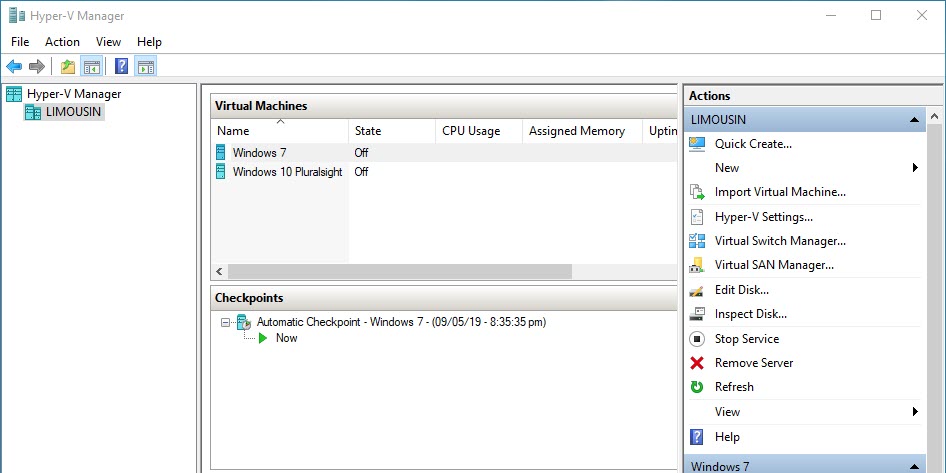
Hyper-V then appears in the Start Menu and when you run it you’ll see that it has three main panels. The panel on the left contains details of your installed virtualisation server (i.e. your installed copy of Windows), the one in the centre has details of any installed VMs and below that and stored Checkpoints for those VMs, and the panel on the right contains context-sensitive options for Hyper-V in the top section, and context-sensitive options for your selected VM in the bottom section.

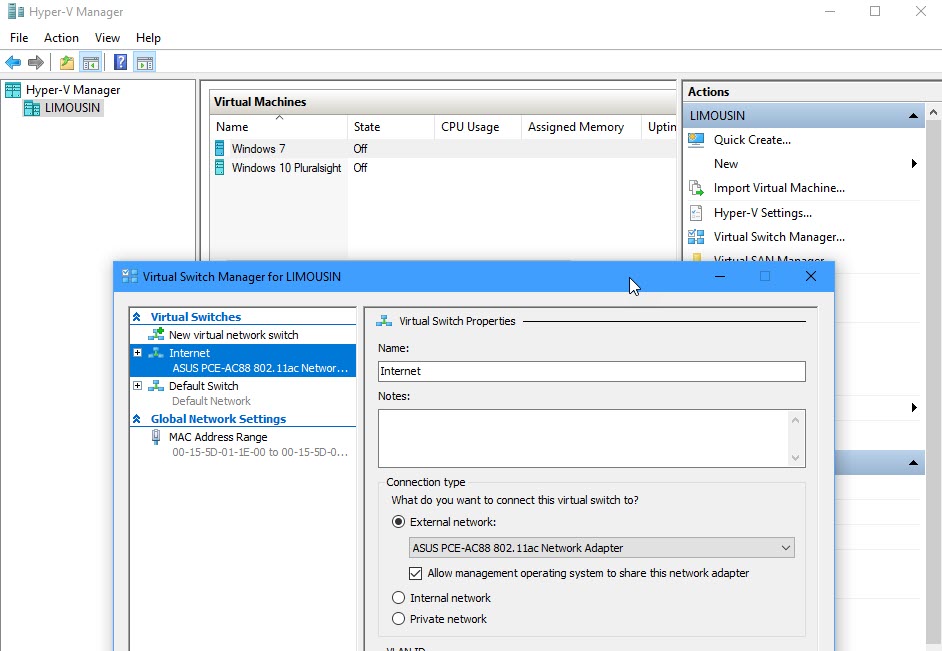
You can create network connections for your VMs by clicking Virtual Switch Manager in the top right of the Hyper-V console. There are three types of switches you can create. External network, allows VMs to access your local network and the Internet, Internal network allows VMs to only access your local network, and Private network only allows VMs to see other VMs running in Hyper-V on that PC.

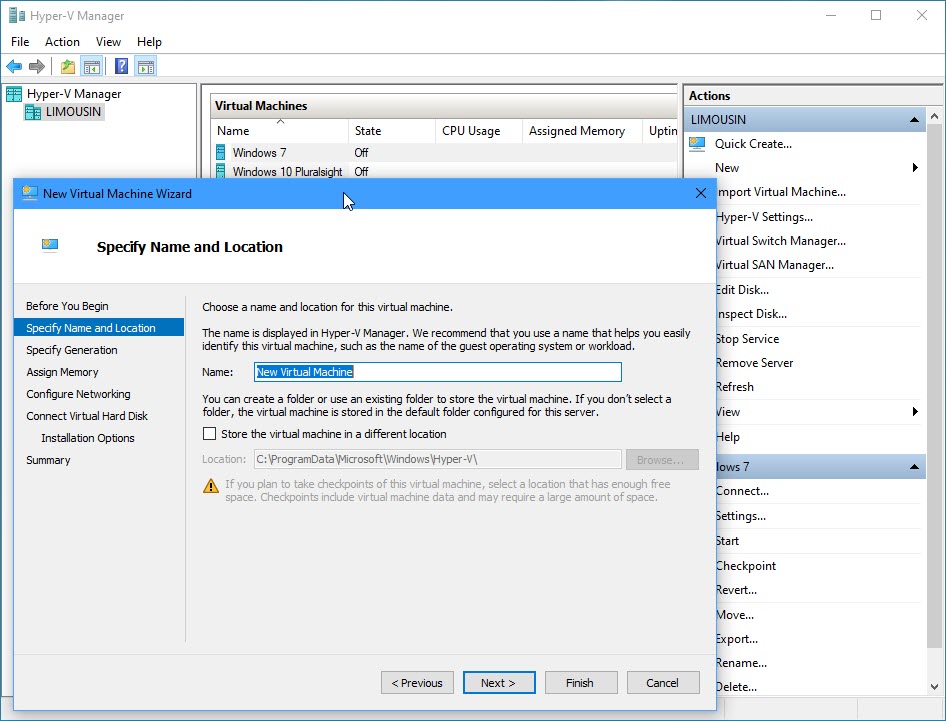
To create a new Virtual Machine, click the New > Virtual Machine option in the top right of the Hyper-V panel. You will need an ISO installation image for the operating system you wish to install, and can figure various options such as how much of your PCs’s physical memory is allocated to the VM.

If you need to have a clean and safe operating system environment for testing, demonstration, or development purposes then using Hyper-V is a great way to achieve this. It also allows you to run additional operating systems on your desktop which is useful if, for example, you are developing in Linux while using Windows. This means you don’t have to create a dual-boot system on your PC.


