

Sometimes there’s some error that occurs during an update or shutdown operation that corrupts something on the PC such as your user account. The upshot is that the next time you start the PC, you get an error and it won’t let you get to the desktop. There are a couple of common, and very easy fixes you can employ though that often get your PC running again.
You run these from the Recovery Console. To access this, start your PC and when the Windows loading logo appears (this might be the logo for your PC manufacturer), press and hold the power button until the PC shuts off. You’ll need to do this two or three times for the Recovery Console to appear.
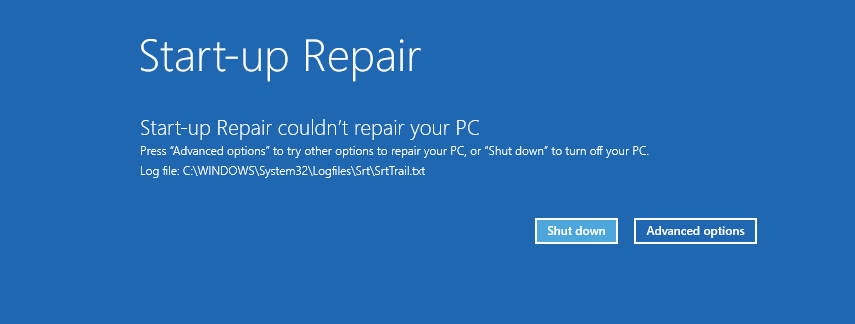
An automatic repair system will now begin, this is the first step, and it can repair some common problems by resetting Windows components to their default state. Startup Repair might fix the problem you face and your PC will restart. If it can’t fix the problem though it will tell you, and you should then press the Advanced options button.
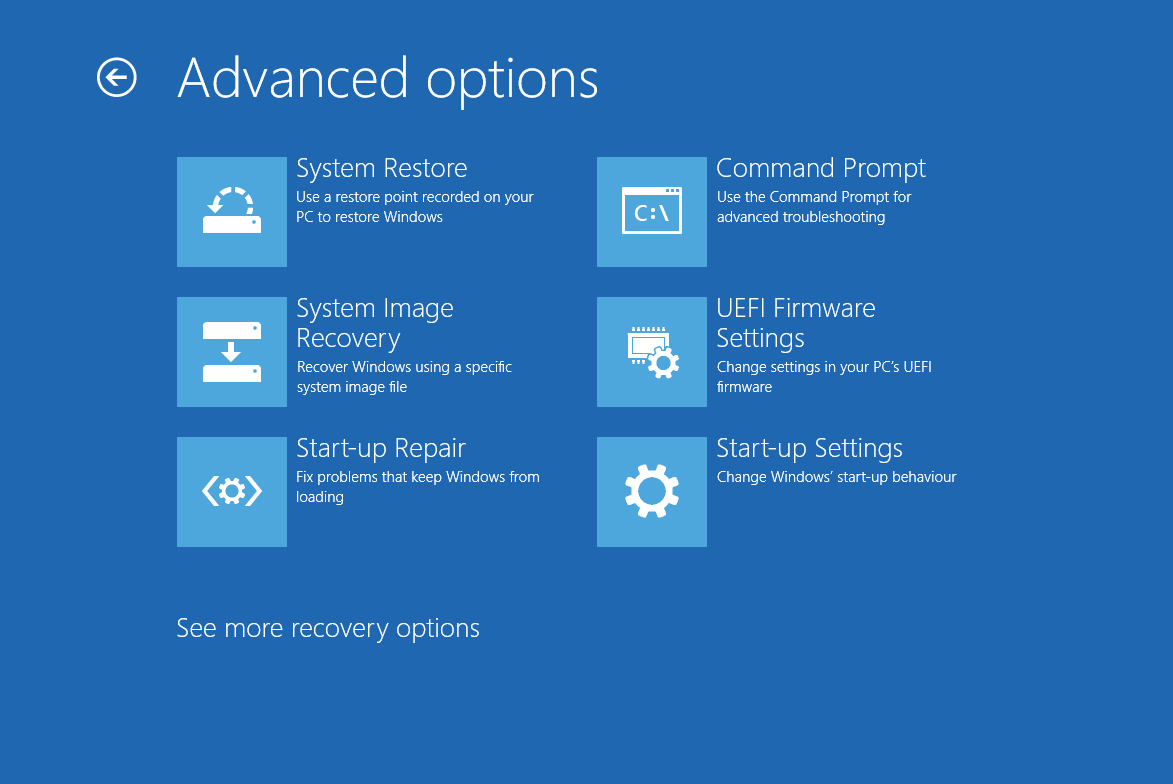
This will take you into the full Recovery Console. Here you should click Troubleshoot and then click Advanced options. You will now see an option to run System Restore. Click this and you will be able to roll back any unwanted changes that have made your PC unstable, such a an update install or a configuration change somewhere.
When System Restore completes your PC will hopefully boot happily to the desktop, and you will be able to get working again. Should this not work however I have other troubleshooting articles which might be able to help.
For in-depth Windows 10 Troubleshooting advice, Mike Halsey’s book “Windows 10 Troubleshooting, Second Edition” is on sale now from Apress, Amazon, and all good booksellers.
Post expires at 2:00am on Tuesday October 14th, 2025