You can take screenshots really easily in Windows, both of your whole desktop, and also of individual open apps or select parts of the desktop or apps. From the desktop or from within an app at any time press Windows key + Shift + S to initiate the screenshot feature. This opens a small panel at the top of the screen with five buttons.
These buttons allow you to select a Rectangular snip, Freeform snip, Window snip, and Full-Screen snip with a close button to their right. Select the option you want and then click, hold and drag your mose to select an area, or to draw around an area. Alternatively if you have selected a window snip, just click on the window you want to take a screenshot of.

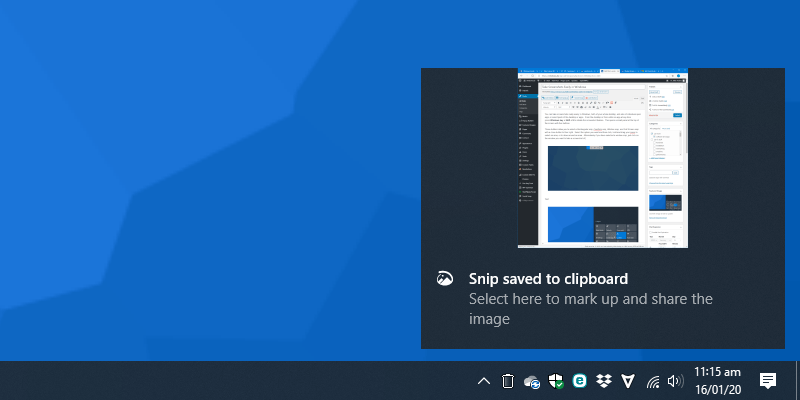
You will see a pop-up appear in the bottom right of your screen telling you that your screenshot has been saved to the clipboard. This means you can then open whatever app or document you want to paste the screenshot in, and press Ctrl + V to paste the image.
Alternatively if you click the pop-up, it will open your screenshot in the Snip & Sketch tool, and form here you can click the Save icon near the top right of the screen to save your screenshot as a file to your PC. You can find out more about how you can use Snip & Sketch on this link.

Additionally, you can trigger a screenshot by opening the Action Centre and clicking the Screen snip button. This can be useful for those times you might have forgotten the keyboard shortcut keys.

Windows makes it really easy to capture, share, and save screenshots, and they can be very useful when you want to save something that appears on your screen, or to share something with another person or a group.
Learn how to maximise your productivity with Windows 10, Mike Halsey’s book “The Windows 10 Productivity Handbook” is on sale now from Apress, Amazon, and all good booksellers.


